Preview 528 Styles: Low Tension Looks for Thinning Edges on Black Hair

Preview 528 Styles: Low Tension Looks for Thinning Edges on Black Hair
Stretched twist-outs, glueless wigs, loose updos, and knotless braids started well behind the hairline are the safest thinning edges hairstyles because they keep mechanical tension off the perimeter. That one rule matters more than any style name: a box braid or a wig can either protect your edges or wreck them further, depending entirely on how much pull sits at the root. Installation method and wear time decide the outcome, not the style itself.
TL;DR:
Styles that start behind the hairline, use knotless or feed-in techniques, and incorporate a tension-free perimeter help preserve edges more effectively.
Wearing styles for about four weeks and giving the hairline one to two weeks of no tension promotes better recovery and reduces thinning.
Using lightweight concealment options like fake bangs or glueless wigs fitted slightly back from the hairline prevents added pull on fragile edges.
Asking for low-tension installation and checking for soreness immediately can prevent damage before it worsens.
Rotating styles and documenting hairline progress support better management and early intervention for thinning edges.
Table of Contents
Edge-Friendly Hairstyles Worth Trying First
Some styles carry less risk by nature. Others can go either way depending on how they’re installed. Here’s a working list, grouped by approach, so you can match a style to your texture, your length, and how much rest your hairline actually needs.
Own-hair volume styles work well when your edges just need a break with no added weight.
-
Stretched twist-outs or braid-outs: no added extension, no root tension, and the stretched pattern hides sparse spots by adding visual density along the hairline.
-
Loose updos and puffs: pulling hair back is fine as long as the front section stays soft, not slicked into a tight band. A natural updo with a loose front row does the job.
-
Two-strand twists at the perimeter: smaller, low-tension twists at the edges distribute weight better than a single thick section pulled tight.
Installed low-tension braids give you longer wear without the daily manipulation that wears down fine edges.
-
Knotless braids with feed-in technique: hair is added gradually instead of knotted at the root, which spreads tension down the braid rather than concentrating it at the scalp.
-
Medium to jumbo twist hairstyles: fewer, larger sections mean fewer tension points overall.
Wig options are often the lowest-risk category because they can eliminate perimeter tension entirely.
-
Glueless wigs on a wig cap: no adhesive, no braid pattern at the root, and the natural hairline stays completely untouched when the fit is right.
-
Headband wigs: skip the leave-out and lace altogether, which removes the temptation to slick or heat-style thinning strands.
Short-term concealers work for events or in-between weeks when you’re not ready for a full install.
- Fiber fillers and edge tints applied sparingly to camouflage sparse patches without daily gel buildup.
Even a style marketed as “protective,” including box braids, can damage edges if it’s installed too tight or loaded with heavy extension hair. The category doesn’t guarantee safety. The execution does.
How to Ask for a Low-Tension Install (And Test It Yourself)
Getting a protective style right starts before the first braid goes in. What you say to your stylist, and what you check once it’s done, determines whether the style helps or hurts.
-
Ask for the part to start behind your hairline. Request that braids begin about a half inch to a full inch back from where your edges naturally grow, leaving that strip of hair untouched.
-
Request knotless or feed-in technique specifically. This method spreads tension along the length of the braid instead of knotting it at the root, which is the single biggest factor in edge preservation.
-
Leave a perimeter of natural hair out or folded over. A half inch to full inch of unbraided hair at the edges can be styled into soft bangs or a folded front row instead of anchoring extension weight directly at the root.
-
Run the finger-slide test once it’s installed. Slide a finger under the front row. It should move with a little give, not sit rigid against your scalp.
-
Trust immediate soreness. Bumps or pain right after installation mean the style is too tight, and that’s not something to wait out. Ask your stylist to loosen or redo the section on the spot.
Pro Tip: Bring a photo of your hairline density to your appointment and say out loud, “please skip tension at the edges.” Stylists hear “protective style” all day. They don’t always know your edges are the priority unless you name it first.
Wear Time, Cleansing, and Rest Windows for Fragile Edges
Fragile edges need shorter timelines than the rest of your scalp. A general protective style might comfortably last six to eight weeks, but thinning edges do better with a tighter window and built-in recovery time.
-
Aim for about four weeks, with six weeks as the outer limit if you’re monitoring closely and the perimeter still has give.
-
Cleanse every one to two weeks with a diluted shampoo or scalp rinse to prevent product buildup from sitting on stressed follicles.
-
Moisturize the perimeter daily, but skip the heavy gels. Daily slicking with strong-hold gel is one of the most common habits behind ongoing thinning, since it invites repeated brushing and pulling at exactly the spot that needs the least handling.
-
Detangle gently at takedown, working from ends to roots, then cleanse the scalp thoroughly before starting anything new.
-
Give yourself one to two weeks with no tension at all between styles. This rest window is where actual recovery happens, and skipping it is why some people cycle through protective styles for months without seeing their edges improve.
Concealment Tricks That Won’t Make Things Worse
Hiding thinning edges and healing them aren’t opposites, as long as your concealment method doesn’t add the pull that caused the problem in the first place.
-
Fake bangs from your own hair: pull a small front section forward and set it with a light, alcohol-free styling cream instead of heat. Skip the flat iron here; repeated heat on already-fragile leave-out accelerates breakage.
-
Fit glueless wigs a half inch back from your natural hairline, not directly on top of it, so the cap edge doesn’t sit right where your hair is weakest.
-
Use a wig grip band instead of glue. Adhesives near the hairline add both mechanical pull and chemical irritation, while an adjustable strap holds just as securely without either risk.
-
Check the wig’s cap band itself. A glueless wig can still cause traction if the elastic is too tight, so loosen adjustable straps until the cap sits comfortably without gripping the scalp.
-
Save colored edge fibers for occasions, not daily wear, and pick alcohol-free formulas so you’re not drying out hair that’s already struggling.
When Thinning Edges Need a Professional Opinion
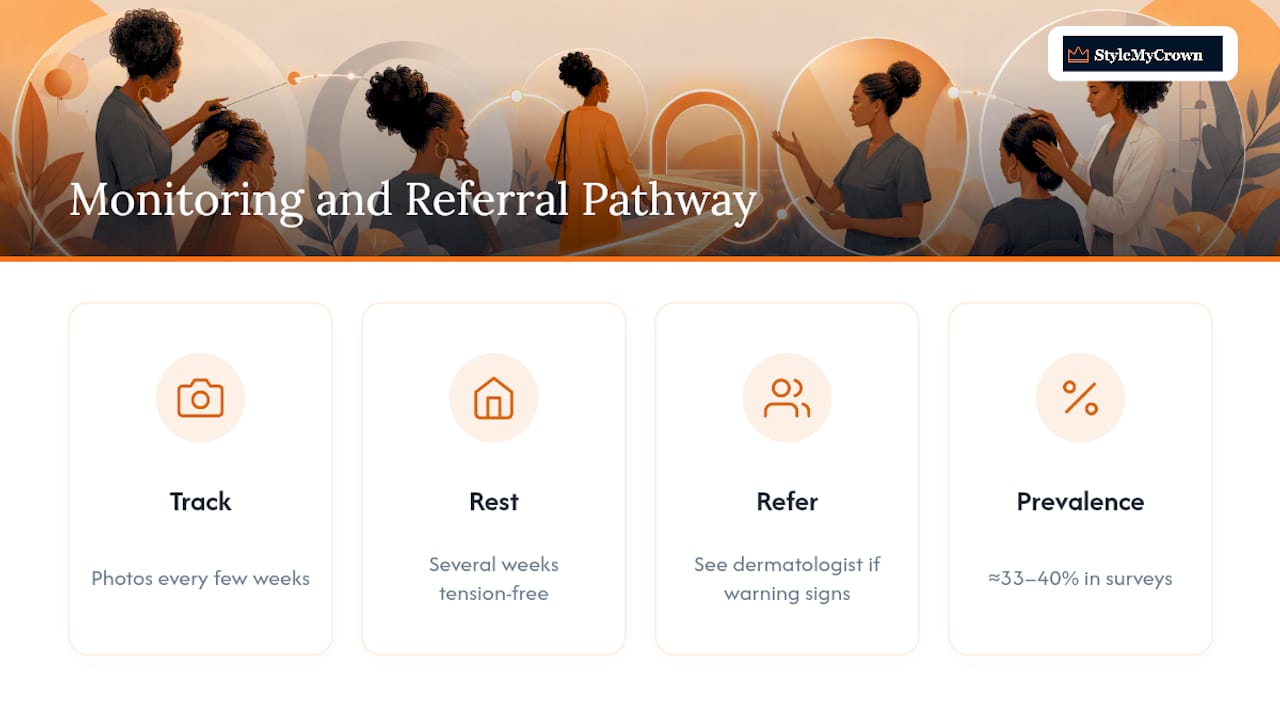
Most thinning responds to lower tension and rest. Some cases don’t, and that’s worth catching early. See a dermatologist or trichologist if your part is widening quickly, your scalp feels sore or scabbed, you notice scarring, or a patch hasn’t regrown after several weeks of tension-free rest.
Bring a timeline of your styling history and, if you have them, photos taken every few weeks. Tracking your hairline visually over the recovery window gives a specialist something concrete to measure against, rather than relying on memory. Traction alopecia alone shows up in roughly a third to nearly 40% of Black women in survey-based studies, so a referral isn’t an overreaction. It’s a reasonable next step when styling changes alone aren’t enough. A specialist can also flag whether density-focused options, including scalp micropigmentation for thinning areas, might apply to your specific case.
Preview Edge-Safe Styles Before You Sit in the Chair
Before committing to any install, it helps to see it on yourself first. Augmented reality try-on lets you test bangs, headband wigs, or knotless braid patterns on your own photo, no scissors, no glue, no risk to your actual hairline.
-
Try looks from a catalog of 528 curated styles built for different textures and lengths.
-
Use your 2 complimentary credits to test a few perimeter-free options before booking anything.
-
Screenshot your favorites and hand them to your stylist as a clear, visual brief instead of trying to describe it.
Why I’m Skeptical of “Protective Style” as a Safety Label
Here’s what I think the industry gets wrong: it markets style categories as if they’re inherently safe, when the real variable is always execution. Knotless braids get praised as gentle, and they usually are, but a knotless install done too small or too tight at the nape can still cause damage. A glueless wig gets marketed as risk-free, and it’s close, but a too-tight cap band undoes that advantage instantly. The label tells you almost nothing on its own.
What actually protects edges is boring and specific: where the tension sits, how long the style stays in, and whether you give your hairline real recovery time between installs. None of that requires a dramatic overhaul. Rotate your styles instead of repeating the one you know how to do. Test tension the day you leave the salon chair, not a week later when soreness has already become normal. Document your hairline every few weeks so progress isn’t just a feeling. Small, consistent changes compound faster than people expect, and edges that have been given real rest tend to surprise you.
— Christelle
Try a Virtual Preview Before You Commit to a Style
If you’ve made it this far, you already know the real work happens with your stylist and your rest windows. What Stylemycrown adds is the step before that: a way to see a style on your actual face and hairline before anyone touches your hair. No trial-and-error install, no committing to a wig you’re not sure about, no guessing whether headband styling will suit your face shape.
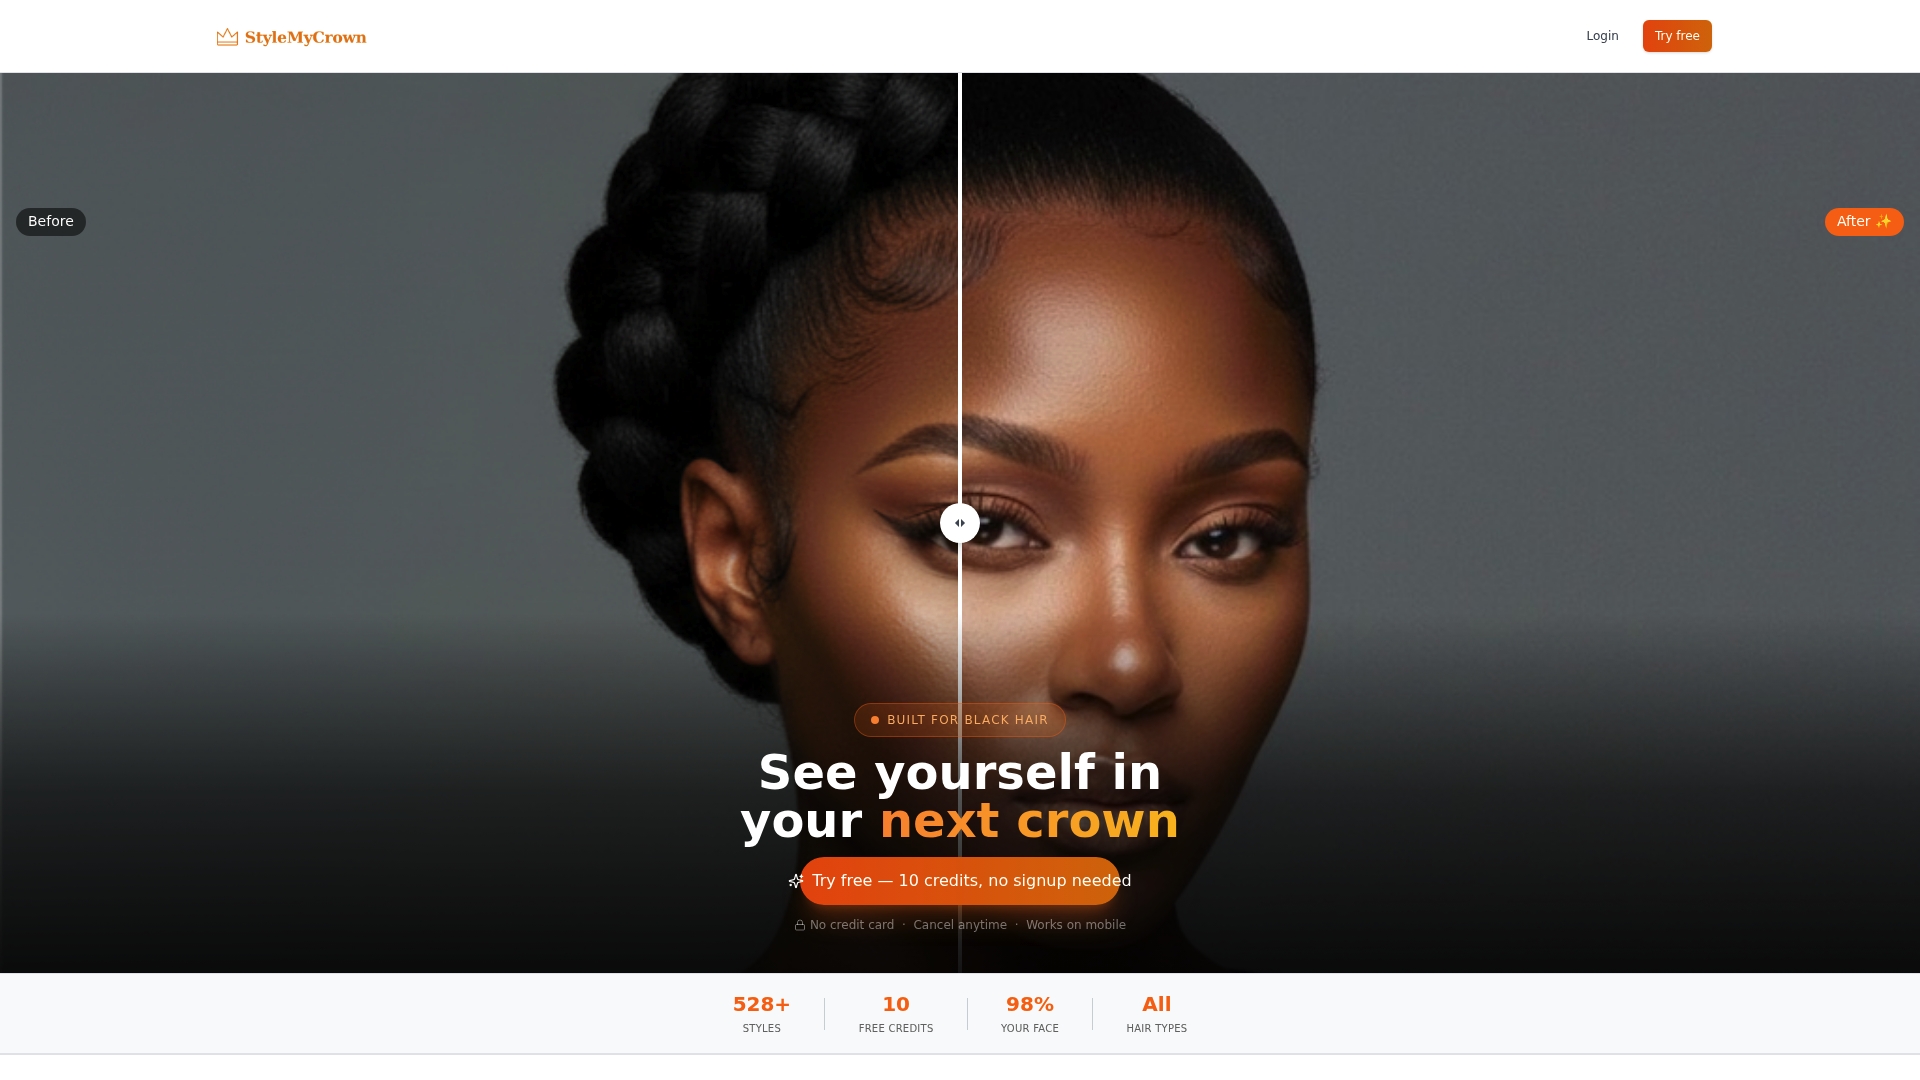
Browse the Style Catalog and use your 2 complimentary credits to try on glueless wigs, knotless braid patterns, or soft bang looks against your own photo. If you work with a stylist regularly, the Stylist Catalog makes it easy to share exactly what you want before your next appointment. It’s a visualization tool, not a treatment plan, but it takes the guesswork out of picking your next protective style.
Sources
-
Hairstyles for women with thin edges (that actually protect them) – Edge Naturale
-
How to apply protective styles to thinning edges safely – Edge Naturale
FAQ
What is the 3 inch hair rule?
The 3 inch rule refers to letting hair grow to about three inches before chemically processing or heavily manipulating it again, giving new growth at the edges time to strengthen before it faces additional stress.
My hair edges are thinning. What can I do to fix them?
Switch to low-tension styles like stretched twist-outs, knotless braids started behind the hairline, or glueless wigs, and build in a one to two week tension-free rest between installs. If a patch doesn’t regrow after consistent rest, see a dermatologist or trichologist to rule out other causes.
How can I hide my thinning edges?
Soft, alcohol-free faux bangs from your own hair, a glueless wig fitted a half inch back from your hairline, or a headband wig all conceal thinning without adding pull. Save colored fibers and edge tints for occasional use rather than daily wear. You can preview several of these looks on your own photo through Stylemycrown’s virtual try-on before deciding.
Does thinning hair look better longer or shorter?
Shorter styles often look fuller because there’s less weight pulling the hair down, which can make thinning less visible, but the better question is which length lets you avoid tension at your edges. A shoulder-length style with soft layers can look just as full if it’s not weighed down by heavy extensions.


