Preview Knotless Braids Styles on Your Photo, 10 Free Credits for Black Hair
Preview Knotless Braids Styles on Your Photo, 10 Free Credits for Black Hair
Knotless braids stay gentler on the scalp and edges than traditional box braids because the extension hair feeds in gradually instead of getting knotted at the root, and that single difference is why they’ve become the default protective style for so many Black hair wearers. This guide walks through named styles from micro to jumbo, boho to bob, plus the styling moves, sizing trade-offs, and care habits that keep them looking fresh for weeks.
TL;DR:
- Micro and boho styles require more frequent maintenance and detangling, with curly-ended styles needing refreshes every four to six weeks.
- Sealed-end knotless braids in medium or jumbo sizes typically last six to eight weeks, while curly or boho styles need retouching by week four.
- Tension damage mainly results from tight installation, making proper slack and even weight distribution essential to protect fragile edges.
- Professional braiders are advisable for complex feed-in styles to prevent uneven tension and damage, especially for beginner or detailed installs.
- Using a virtual try-on platform helps visualize styles on your face and hair, reducing guesswork and ensuring better compatibility before booking a salon appointment.
Table of Contents
- What Are Knotless Braids Styles, Exactly?
- 24 Knotless Braid Styles to Try Next
- Six Quick Ways to Restyle Knotless Braids
- How to Keep Knotless Braids Looking Fresh
- Choosing Braid Size, Length, and Color
- Protecting Your Scalp While Wearing Braids
- What Happens During a Knotless Braid Installation
- Salon Versus DIY: What Actually Works
- Why Style Choice Should Start With Your Hair’s Health
- See Your Next Knotless Style Before You Book It
- Sources
What Are Knotless Braids Styles, Exactly?
Knotless braiding is a technique, not a single look. A stylist starts with your natural hair, feeds in small amounts of extension hair as the braid grows, and skips the tight knot that traditional box braids tie at the base. The result is a flatter, more natural-looking root and noticeably less tugging at the hairline from day one.
That technique gets applied across dozens of finished looks: box braids, feed-in braids, cornrow patterns, micro braids, goddess braids, and part styles like triangular or zigzag sections all use the same knotless foundation. The feed-in technique also spreads tension along the length of the braid rather than concentrating it at a single knotted point, which matters most if your hairline has thinned or your edges are recovering from previous tight installs. Below is a gallery of the named styles worth bringing to your next appointment, followed by the styling steps and maintenance habits that make any of them last.
24 Knotless Braid Styles to Try Next
Not every style suits every hair length or lifestyle, so each entry below notes who it fits best and one accessory or styling tweak worth trying.
-
Knotless box braids. The baseline style: square-shaped parts, medium thickness, versatile length. Best for first-timers who want a classic look that works for work or weekends. Try adding a side part for a softer frame around the face.
-
Knotless feed-in braids. Braids that start flush against the scalp and taper outward, mimicking a cornrow-to-braid transition. Best for anyone wanting a sleeker root without visible bulk near the hairline. A gel edge control at installation keeps the feed-in point crisp.
-
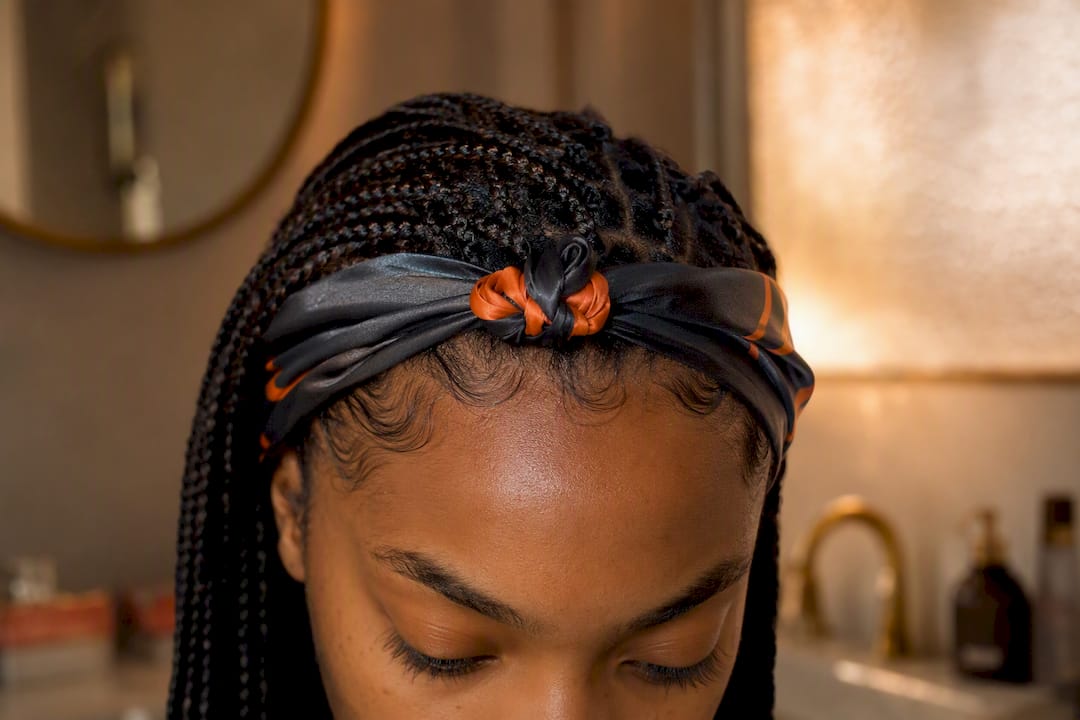
Two feed-in braids. Just two large feed-in braids running back from the crown, often styled into a low bun or left hanging. Best for low-manipulation days or gym routines. Pair with a satin-lined headband to prevent frizz at the part.
-
Micro knotless braids. Tiny, pencil-thin braids that move like loose natural hair. Best for thinner strands or anyone wanting maximum styling flexibility, though they take the longest to install. A center part with face-framing pieces softens the look instantly.
-
Medium knotless braids styles. The middle ground: not as heavy as jumbo, not as time-consuming as micro. Best for most first-time or repeat wearers balancing style and appointment length. Great base for half-up styling since the braids hold shape well.
-
Jumbo knotless braids. Thick, statement-size braids that install fastest and show fewer of them per row. Best for anyone short on salon time or wanting a bold, graphic look. Keep the ends blunt for a cleaner finish since jumbo braids show frizz quickly.
-
Knotless bob braids. Chin to shoulder length, styled straight or with a slight curl at the ends. Best for warmer months or anyone wanting low upkeep without sacrificing texture.
-
Short bob braids. An even shorter cut, often jaw-length, for a bold and low-maintenance protective option. Best for readers who want braids without the length commitment. A middle part with tucked ends gives it a polished, editorial finish.
-
Knotless braided bob (lob). A longer bob that grazes the collarbone, sometimes called a lob. Best for anyone transitioning out of longer braids without going full short. Add a deep side part for extra movement.
-
Half-up half-down knotless braids. Top section gathered, bottom half loose. Best for showing off length while keeping hair off the face. A few face-framing braids left out soften the overall shape.
-
High ponytail knotless braids. All braids swept up and secured high on the crown. Best for workouts, hot weather, or anyone who wants an instant face-lift effect. Wrap a section of braid around the base to hide the elastic.
-
Sleek low bun. Braids gathered low at the nape, smoothed down with edge control. Best for formal events or professional settings. Pin in a spiral pattern for a more sculptural look.
-
Space buns. Two symmetrical buns, playful and youthful. Best for shorter to medium-length braids and casual outings. Add small gold cuffs at the base of each bun for extra polish.
-
Braided mohawk. Sides braided flat or pulled back, center section left fuller or twisted upward. Best for readers wanting an edgier, statement look for a night out.
-
Faux locs (knotless base). Wrapped, loc-like extensions installed using a knotless foundation. Best for anyone wanting the loc aesthetic without long-term commitment. These typically run heavier, so ask your stylist about lightweight wrapping thread.
-
Triangular part braids. Parts sectioned into triangles instead of squares, which distributes weight more evenly and hides scalp less. Best for finer or thinning hair since triangular and zigzag part patterns reduce visible tension lines.
-
Zigzag part braids. A decorative variation on triangular parting, popular for its graphic, editorial look. Best for readers who want their braid pattern itself to be a style statement.
-
Boho knotless with curly ends. Loose, wavy pieces left throughout the braid for an undone, textured finish. Best for anyone prioritizing a soft, lived-in look over low maintenance, since boho styling needs more frequent detangling by weeks four to six.
-
Goddess knotless braids. Similar to boho but often with thicker curl definition throughout, not just at the ends. Best for special occasions or anyone who loves a fuller, more voluminous silhouette.
-
Two-toned braids. Two shades blended or sectioned across the head, like a dark base with a caramel front section. Best for readers wanting dimension without committing to full color.
-
Ombre knotless braids. A gradual color transition from root to tip. Best for adding depth to longer styles where the color shift has room to show.
-
Beaded knotless braids. Wooden or metal beads placed strategically along a few braids, usually near the face or ends. Best for readers who want a nostalgic, personal touch. Knotless braids with beads work well when beads sit lower on the strand to avoid pulling at the root.
-
Cuffed accent braids. Metal cuffs slid onto select braids for a subtle glint of shine. Best for pairing with an updo where the cuffs catch the light.
-
Thread-wrapped ends. Colored thread wrapped around the last few inches of select braids. Best for readers wanting a traditional West African styling detail with minimal extra weight.
Six Quick Ways to Restyle Knotless Braids
Changing the look of your braids day to day keeps them feeling fresh without adding a single new installation appointment.
- Half-up bun. Gather the top half, twist once, and secure with a spiral pin or covered elastic. Takes under two minutes.
- Top knot. Pull all braids into a high ponytail, then wrap the length around the base and pin. Use a wide-tooth pick to smooth flyaways first.
- High ponytail. Secure with a seamless elastic, then wrap one braid strand around the base to hide it completely.
- Swooped side pony. Sweep all braids to one side, secure low, and pin any loose pieces along the part.
- Space buns. Part down the middle, gather each side, twist, and pin into symmetrical buns at the crown.
- Low chignon. Twist the ponytail into a loose knot at the nape and secure with two crisscrossed pins.
Avoid tight, thin elastics directly against your hairline. They create the same tension knotless braids are designed to prevent.
Pro Tip: Wrap your edges with a silk scarf and smooth on a light styling mousse before bed. You’ll wake up to frizz-free edges without touching a hot tool.
How to Keep Knotless Braids Looking Fresh
Wear time depends heavily on braid size and end style. Micro braids and jumbo braids with sealed ends tend to hold their shape the longest, while boho and goddess styles with curly ends need more frequent refreshing because the loose texture unravels and frizzes faster than a sealed tip.
Sealed-end knotless braids in medium or jumbo sizes commonly hold up for six to eight weeks, while boho or curly-end styles often start looking undone by week four.
A simple weekly rhythm keeps braids looking their best:
- Wrap hair in a satin or silk bonnet every night to prevent friction and frizz.
- Moisturize the scalp with a light, water-based spray two to three times a week, focusing on the parts.
- Skip heavy oils and butters near the roots. They cause buildup that traps lint and dulls the braids.
- Loosely pineapple long styles before bed instead of leaving them fully down.
- Refresh edges every few days with a small amount of gel or edge cream and a soft brush.
By week three or four, retouch flyaway hairs at the part and reinforce any loosening seams with a quick re-braid at the root. If you notice matting near the scalp, excessive shedding, or a persistent itch that moisturizing doesn’t fix, that’s your signal to take the style down rather than push past a healthy wear window.
Choosing Braid Size, Length, and Color
Size is the single biggest factor in how long your braids take to install, how heavy they feel, and how much upkeep they demand.
- Micro braids offer the most styling versatility and the most natural movement, but installation runs long, often a full day, and they’re the priciest option per session.
- Medium knotless braids balance a reasonable install time with enough thickness to hold updos, ponytails, and buns cleanly.
- Jumbo braids install fastest, sometimes in half the time of micro, and cost less, but they offer fewer styling variations because there are simply fewer braids to work with.
- Subtle highlights add dimension with minimal extra maintenance, while bold or ombre color usually means a longer install and a bit more upkeep to keep the color looking crisp.
- Place beads and cuffs lower on the braid, away from the root, so they don’t pull at new growth or tangle during sleep.
Bring a photo and a clear sense of your priorities to your appointment. A standard knotless install often runs four to eight hours, and curlier or goddess-style finishes can add 20 to 40 percent to both the time and the cost compared to a simple sealed-end style.
Protecting Your Scalp While Wearing Braids
A protective style should protect, not strain. The most common damage from knotless braids traces back to one thing: too much tension at installation. If your scalp feels tight, throbs, or you notice small bumps along the part lines within the first day or two, that’s tension damage in progress, not something to wait out.
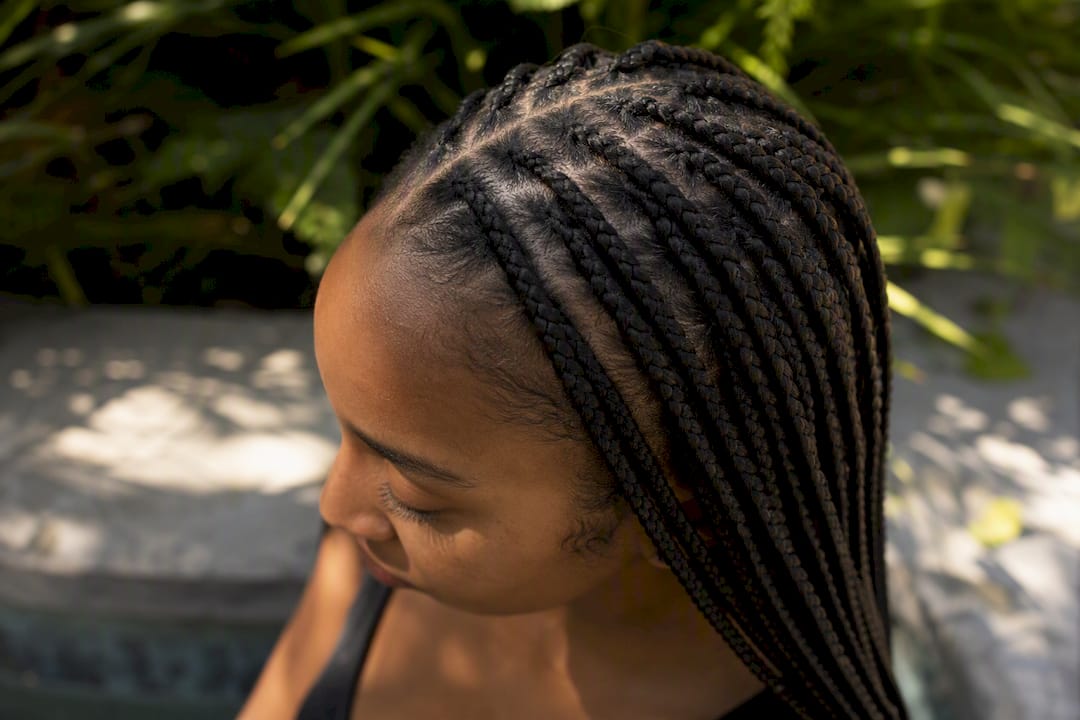
Ask your stylist to braid with enough slack that you can move your scalp freely without pulling. A knotless install that distributes weight evenly across the head, rather than concentrating it at the hairline, protects fragile edges far better than a knotted style. That’s part of why the feed-in method has become the standard recommendation for anyone with thinning edges or a history of traction alopecia.
Between installs, keep the scalp clean. Buildup from dry shampoo, edge gel, and natural oil can clog follicles and cause itching that leads to scratching, which weakens hair at the root. A diluted witch hazel or tea tree spray applied directly to the scalp between washes helps control this without saturating the braids in moisture they can’t dry out from.
Give your scalp a real break between styles. Wearing braids back to back with no rest period doesn’t allow the scalp to recover from tension, and it’s one of the most overlooked causes of long-term thinning among people who wear protective styles year-round.
What Happens During a Knotless Braid Installation
A typical appointment moves through a predictable sequence, whether you’re getting box braids, feed-ins, or a boho finish.
- Wash and detangle. Clean hair holds braiding hair better and reduces frizz later. Your stylist will detangle fully before sectioning.
- Sectioning. Hair gets divided into your chosen part pattern, whether that’s classic squares, triangles, or zigzags.
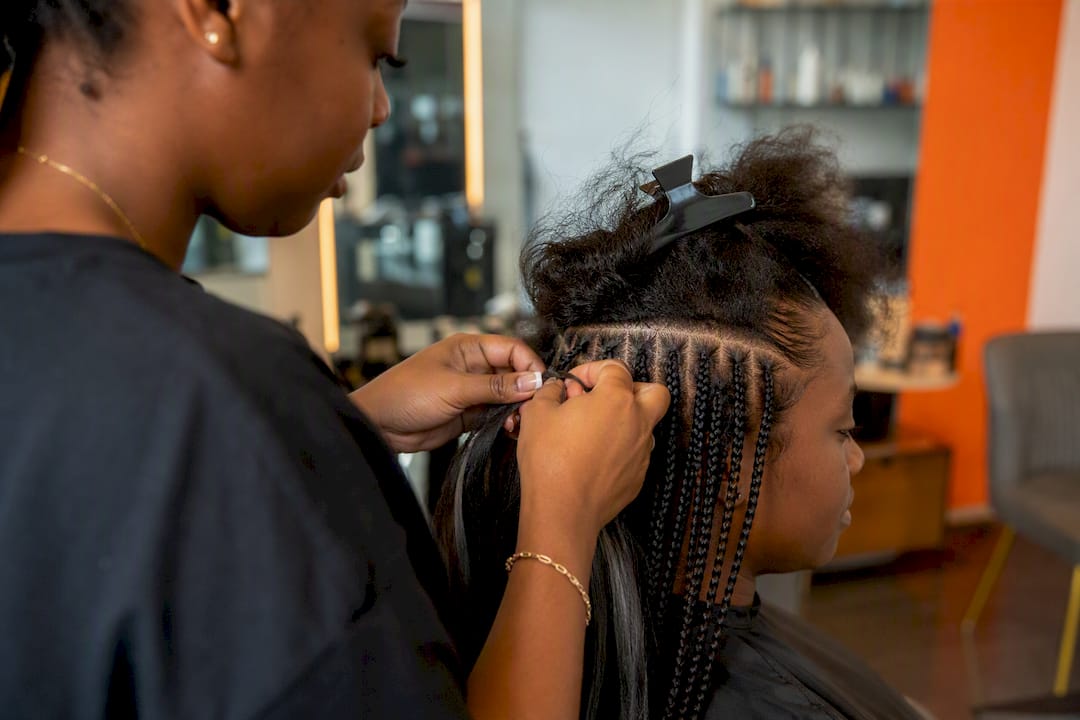
- Feeding in the extension. The stylist braids your natural hair alone for the first inch or two, then gradually adds extension hair strand by strand rather than tying a knot.
- Building the length. The braid continues down using a standard three-strand technique until it reaches your target length.
- Sealing the ends. Ends get dipped in hot water, wrapped, or left curly depending on the style you chose.
- Final styling. Your stylist trims stray hairs, checks for even tension across all rows, and styles the finished look.
Micro and boho styles take longest because of the sheer number of braids or the extra work curling and defining ends. Jumbo styles move quickest since fewer, thicker braids cover the same head.
Salon Versus DIY: What Actually Works
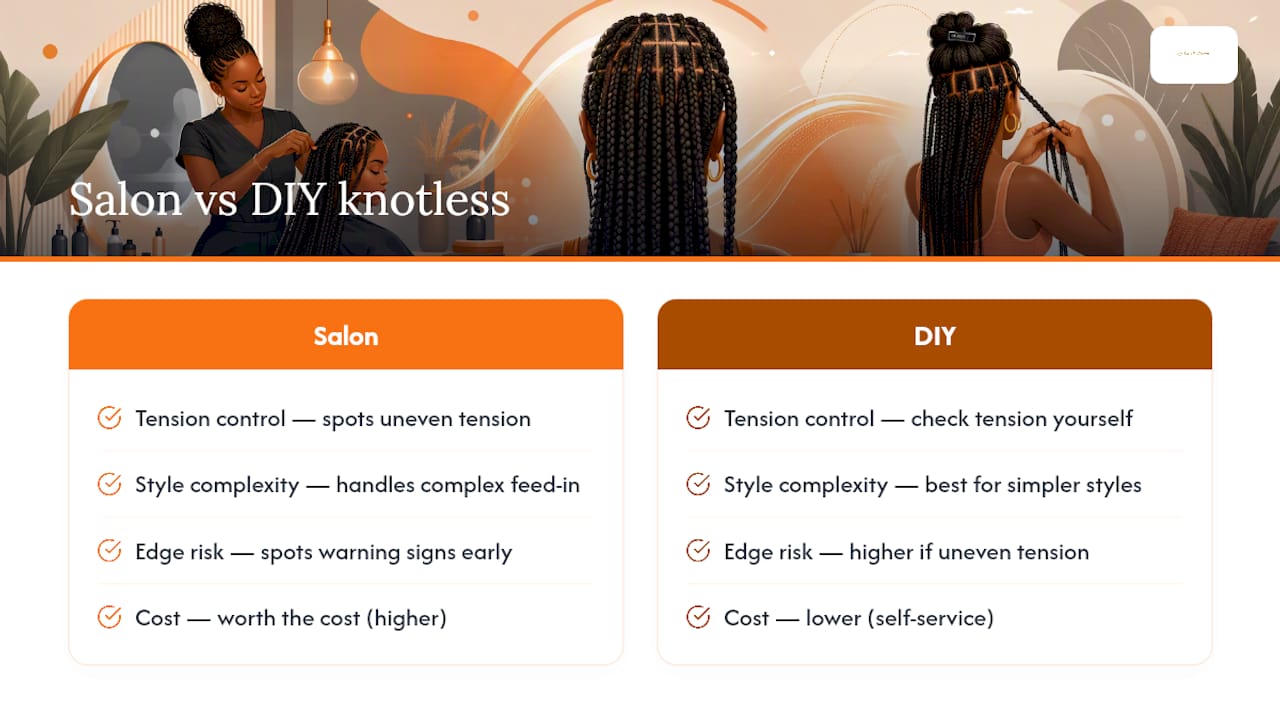
A trained braider is worth the cost for anyone new to knotless braids, especially for feed-in techniques where uneven tension is the most common cause of edge damage. Professionals also spot early warning signs, like a section pulled too tight, before they turn into a bald patch.
DIY works best for simpler styles: two feed-in braids, jumbo braids, or a basic knotless bob where the part pattern is straightforward and the braid count is low. If you’re braiding your own hair, work in front of good lighting, section conservatively, and check tension by gently tugging each finished braid. It should move freely, not resist.
Whichever route you choose, seeing the finished look before committing removes a lot of the guesswork. A tool like StyleMyCrown lets you preview a specific style on your own photo first, so you walk into the chair (or sit down at your own mirror) already knowing the shape and length you want.
Why Style Choice Should Start With Your Hair’s Health
Every style on this list looks great in a photo. Not every style is right for your hair right now. I think the real skill in choosing a knotless braid isn’t picking the trendiest look. It’s matching the style to your hairline’s current state, your maintenance bandwidth, and how long you actually need the protection to last.
Previewing a style before you sit in the chair removes the guesswork and the regret. StyleMyCrown’s virtual try-on lets you test looks on your own photo, backed by 528 curated styles and 10 complimentary credits to start.
— Christelle
See Your Next Knotless Style Before You Book It
Scrolling through gallery after gallery of knotless braid inspiration only gets you so far when you can’t tell how a jumbo style or a bold ombre will actually look against your own face shape and skin tone. StyleMyCrown closes that gap: upload a photo, try on a style, and compare it side by side with another length or color, all before you spend a single dollar on an appointment.
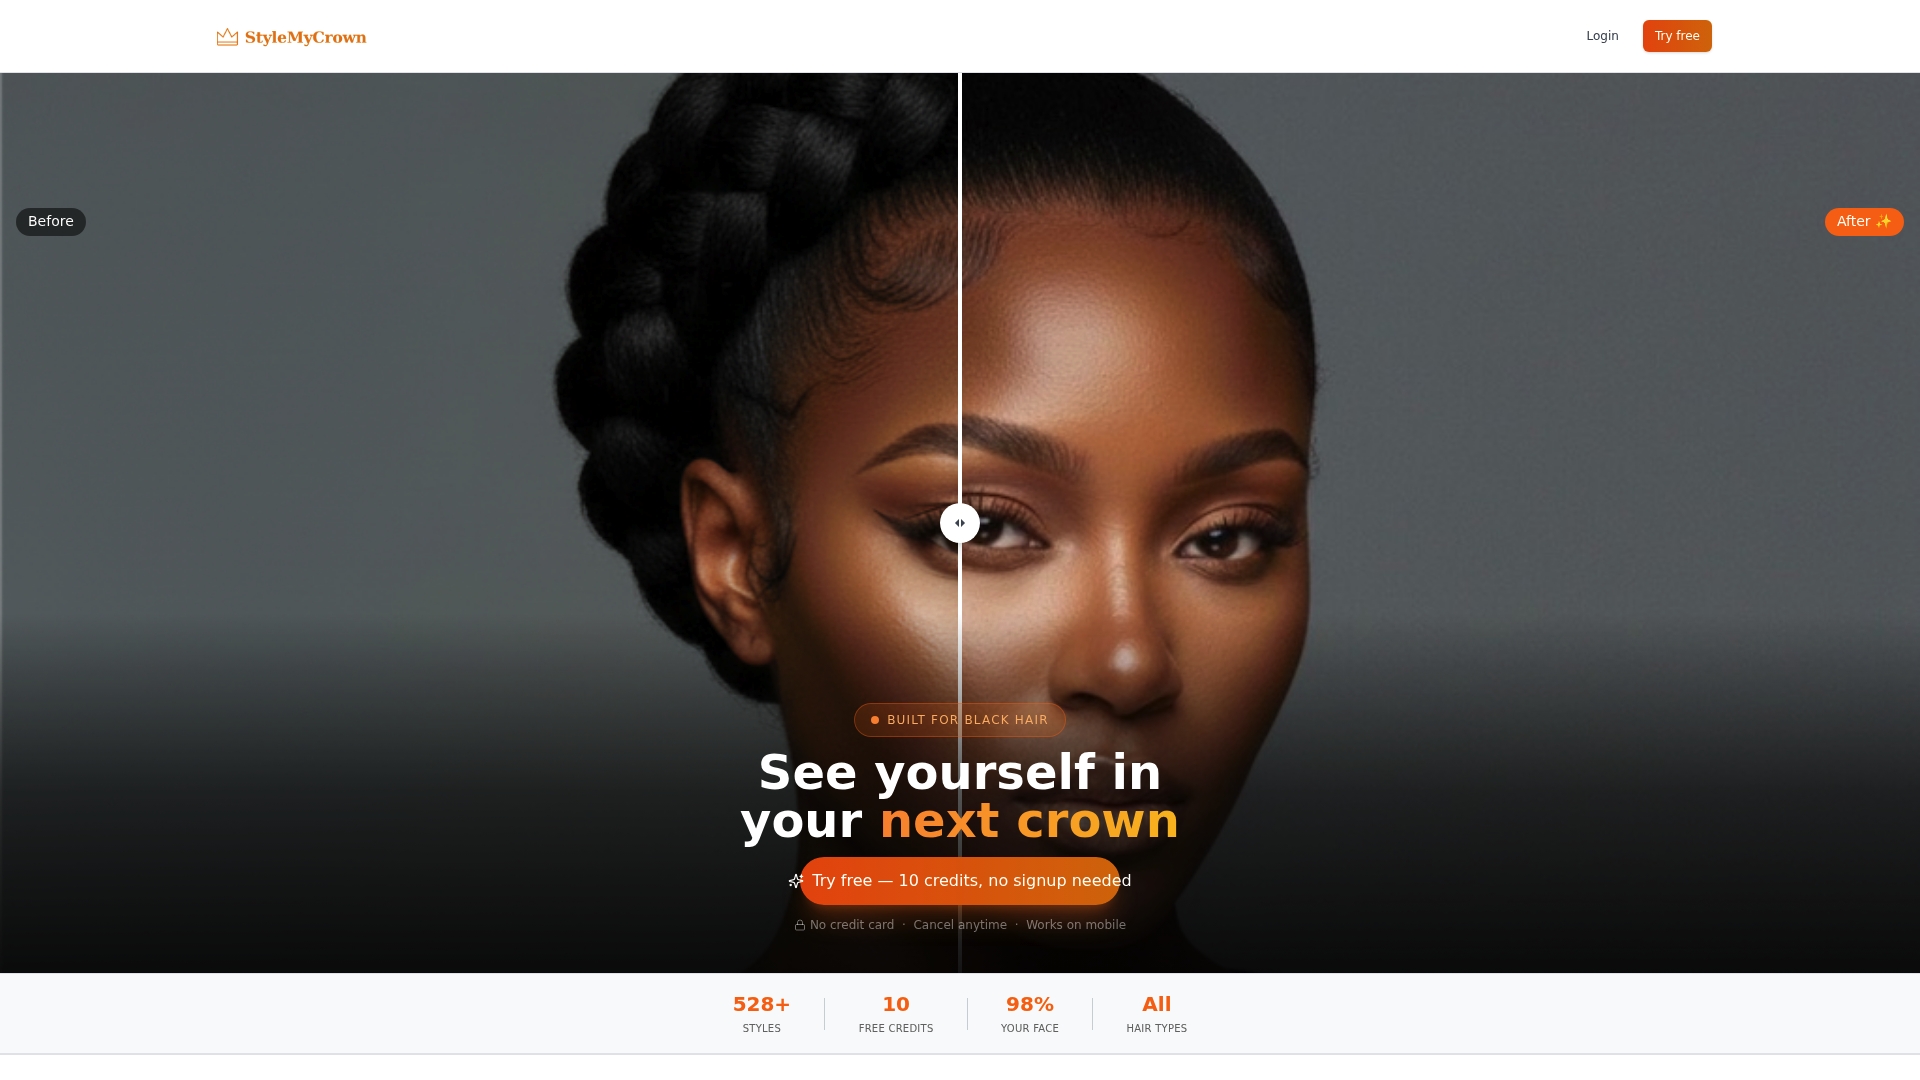
The platform gives you 10 complimentary credits to start, enough to test a handful of the looks in this guide, from micro knotless to a boho goddess finish, against your real photo instead of imagining it. With 528 curated styles built specifically for Black hair textures, you’re not stuck guessing whether a look translates from a stranger’s Instagram photo to your own hair.
Preview two or three styles you’re considering, save the screenshots, and bring them straight to your stylist appointment. Start browsing the Style Catalog to find your next look, or check the Stylist Catalog for curated examples to match with a braider near you. For accessory and braiding hair options like pre-curled bundles for a boho finish, QAI Hair is worth a look too.
Sources
- 20 Knotless Braid Hairstyle Ideas to Try
- Box Braids With Curls: Styles, Installation, and Care Guide - Designbeep
- Boho braids: 2026 guide to bohemian box braids & curly styles
- 10 Knotless Braid Styles From Short Bobs to Long - Hairtical


