Protect Your Edges With Braided Ponytails for Natural Black Hair

Protect Your Edges With Braided Ponytails for Natural Black Hair
The best braided ponytails pair a protective base with a braiding method that fits your length and tension tolerance. Think sleek single braids, cornrows that funnel into a pony, or a playful bubble ponytail. We built this guide around natural Black hair, balancing style inspiration with scalp health, because a gorgeous look should never come at the cost of your edges. Below you will find twelve go-to styles, prep steps, a how-to sequence, and the safety guidance worth knowing before you sit in the chair.
TL;DR:
- The safest protective braided ponytail styles avoid high tension and include knotless feed-in braids, low ponytails, and styles with even sectioning to prevent scalp damage.
- Proper preparation involves stretching hair to reduce shrinkage, moisturizing with lightweight products, and gentle sectioning to evenly distribute tension during braiding.
- Extending style longevity depends on nightly protective habits like wrapping in satin, light scalp refreshing, and avoiding repeated tight re-anchoring, typically lasting one to three weeks.
- Avoid over-tightening and using heavy oils or heavy products before styling, as these common mistakes lead to breakage, frizz, and shortened wear time.
- For added length or fullness, use feed-in extensions anchored away from the hairline and consider shorter wear windows if tension or added weight is a concern.
Table of Contents
- 1. Twelve braided ponytail styles worth trying
- 2. Prepping your hair for a safe, sleek base
- 3. How to braid your hair into a ponytail
- 4. Keeping your braided ponytail fresh night after night
- 5. Protecting your scalp while you protect your style
- 6. How long a braided ponytail actually lasts
- 7. Common mistakes that shorten the life of your style
- 8. Customizing your braided ponytail for any occasion
- 9. Tools and products that make braiding easier
- 10. A stylist-minded note on choosing style over strain
- See your braided ponytail before you commit
- FAQ
- Sources
1. Twelve braided ponytail styles worth trying
A braided ponytail is never just one style. It is a whole category, and the version that flatters you depends on your texture, your length, and how much time you want to spend in the chair.
- Sleek single braid: One clean braid running from a smooth, gelled base, this look suits medium to long hair and reads polished for interviews or date night.
- Cornrows into a ponytail: Cornrows feed into a low or high pony, spreading tension across the scalp instead of concentrating it at one point, which makes it a smart pick if your hairline is sensitive.
- Bubble ponytail: Small elastics section the pony into rounded bubbles, a fun, low-skill style that works on shorter hair because the bubbles create the illusion of length.
- Knotless feed-in braid to pony: Hair is fed in gradually rather than knotted at the root, easing pressure on the perimeter, a favorite for anyone who has dealt with thinning edges before.
- Fishtail ponytail: A two-strand weave-style braid gives a delicate, lacy texture that looks elegant loose or sleeked back for formal occasions.
- Double-braid pony: Two French or Dutch braids merge into one ponytail at the crown, offering extra grip for active days without looking overly structured.
- Braided pony with curly ends: A braided base transitions into a curly or wavy tail, giving texture contrast that works beautifully on 4A through 4C hair with natural shrinkage.
- Wrapped-base ponytail: A small section of hair wraps around the elastic to hide it completely, instantly upgrading any braided pony for a wedding or event.
- Low braided ponytail: Sitting at the nape, this version pulls less at the hairline than high styles, a gentler option for daily wear.
- High braided ponytail: Dramatic and face-lifting, this works best when the base is stretched first so the braid lays smooth instead of puffing at the crown.
- Heart-parted braid to pony: A heart-shaped part at the front adds a romantic detail before the hair funnels into braids and a ponytail, popular for graduations and showers.
- Zig-zag part braided pony: A zig-zag part breaks up straight lines and can disguise uneven edges or patchy regrowth while the braids pull back into a single tail.
If you want extra length or fullness, feed-in extensions can help, just anchor them away from the hairline to avoid concentrated pulling, and consider a shorter wear window if the added weight increases tension on the extensions themselves.
2. Prepping your hair for a safe, sleek base
The base of your ponytail determines how long it lasts and how much stress your scalp takes on. A few steps before you ever pick up a braiding comb make a real difference.
- Stretch your hair first. Banding, a gentle blow-dry on low heat, or a braid-out the night before reduces shrinkage, which means less pulling is needed to achieve a smooth finish.
- Moisturize before you braid. A lightweight leave-in or a water-based cream hydrates the strand without leaving residue that makes braiding slippery; skip heavy butters and oils right before installation since they can prevent braids from holding.
- Section evenly. A pintail comb and soft, snag-free bands help you create clean, consistent parts so tension spreads evenly across the scalp instead of concentrating in one spot.
- Handle your edges gently. A water-based edge control smooths flyaways without the flaking or buildup that heavier gels cause, and your hairline should feel snug, never sore.
3. How to braid your hair into a ponytail
Once your hair is stretched and sectioned, the actual technique comes down to a few decisions.
- Choose your method. Braiding the whole head first and gathering it into a pony gives more texture and grip, while cornrowing directly into the base creates a flatter, more sculpted look. Cornrows-first tends to be gentler on the hairline since the tension spreads across several rows instead of a single elastic point.
- Secure the base. Wrap a soft elastic around the gathered hair two or three times, snug but not tight enough to tug at your scalp when you move your head.
- Wrap and finish. Take a small section of hair and wrap it around the base to hide the elastic, pinning the end underneath for a seamless finish.
- Troubleshoot as you go. Slippage usually means the base wasn’t stretched enough, so add a bit more edge control. A bulky base often means uneven sectioning, so redistribute the hair before wrapping. Frizz responds well to a light anti-frizz serum smoothed with your palms rather than reapplied with a brush.
Pro Tip: If your edges feel tight within the first hour, loosen the base immediately rather than waiting to see if it “settles,” because tension rarely gets better on its own.
4. Keeping your braided ponytail fresh night after night
A braided ponytail can look brand new for weeks with the right nightly habits.
- Wrap your hair in a satin scarf or bonnet, or sleep on a satin pillowcase, to cut down on frizz and friction.
- Mist your scalp and braids lightly with a water-based refresher instead of saturating with oil, which can leave the base greasy.
- Gently re-pancake sections that have flattened to restore volume without re-tightening the base.
- Touch up edges with a small amount of water-based edge control rather than reaching for the original heavy gel.
- Keep heavy oils for the ends only, since applying them pre-install can make braiding slippery and reduce how long the style holds.
Most stylists suggest a wear window of several weeks for braided styles before they start pulling too much on new growth, though your own scalp sensitivity should always take priority over hitting a specific timeline.
5. Protecting your scalp while you protect your style
Pain is never part of a good braid. If you feel sharp tension, a dull headache, or soreness that lingers after the style is finished, loosen the area right away rather than waiting it out.

Repeated tight braiding, cornrows, ponytails, and extensions raise the risk of traction alopecia, a form of hair loss caused by sustained pulling on the follicle. Early-stage traction alopecia can often reverse once tension stops, but advanced cases can progress to permanent, scarring hair loss, according to the American Academy of Dermatology.
One of the clearest warning signs clinicians point to is pain itself: StatPearls describes traction alopecia as the result of repeated tension, with prevention centered on recognizing the problem early and rotating in lower-tension styles. Loosen around the hairline, alternate high-tension looks with gentler ones, and see a dermatologist if thinning around your edges does not grow back after a few months.
6. How long a braided ponytail actually lasts
A well-installed braided ponytail typically holds up for one to three weeks of daily wear before new growth and natural shedding make it look unkempt. Sleeker, single-braid styles tend to fray at the edges first, since the smooth base shows frizz more visibly than a textured cornrow pattern does. Bubble ponytails and styles with curly or textured ends often forgive a bit more regrowth, since the pattern naturally hides the line where your scalp starts.
How you care for the style day to day affects this window as much as the technique itself. Consistent nighttime wrapping, light refreshing, and avoiding repeated re-tightening all extend wear time, while swimming, heavy sweating without protection, or skipping scalp care can shorten it considerably. If you added extensions for length or fullness, plan for a shorter wear window than you would with your natural hair alone, since the extra weight increases tension on the scalp over time.
The six to eight week guideline that circulates for braided styles generally applies to fuller protective styles like box braids or cornrows rather than a braided ponytail, which sits closer to the scalp and tends to need a refresh sooner. Treat any wear-time guideline as a starting point, not a rule, and let your scalp’s comfort guide when it’s time to take the style down.
7. Common mistakes that shorten the life of your style
A few avoidable missteps show up again and again in braided ponytails, and most of them trace back to rushing the prep or the install.
Skipping the stretch step is one of the biggest. Braiding hair at full shrinkage forces more pulling to get a smooth result, which strains the hairline unnecessarily. Over-tightening the base is another common error, often done in an attempt to make the ponytail last longer, but it usually backfires by causing breakage and discomfort within days.
Using the wrong products matters too. Heavy oils and butters applied right before braiding can make hair slippery and prevent the braid from holding, while skipping moisture altogether leaves strands brittle and prone to snapping at the base. Uneven sectioning is a quieter mistake: when parts are inconsistent, some sections carry more tension than others, which can lead to patchy thinning over time rather than an even, manageable style.
Finally, many people reach for the same high-tension style over and over because it is familiar, without rotating in anything gentler. Alternating a braided ponytail with lower-tension options, like a loose twist-out or a soft updo, gives your scalp recovery time between installs.
8. Customizing your braided ponytail for any occasion
The same braided ponytail can flex from the gym to a wedding with a few adjustments.
For casual, everyday wear, a low braided ponytail or a cornrows-to-pony style holds up well through long days and requires minimal touch-up, especially with a light edge control and a quick morning mist.
For formal events, a sleek single braid or a wrapped-base ponytail elevates the look instantly. Adding a heart-shaped or zig-zag part gives a styled, intentional finish that photographs well, and a fishtail ponytail in particular reads polished without looking stiff.
For athletic or active days, a double-braid pony or bubble ponytail keeps hair secured during movement while distributing tension across multiple points rather than one tight base. Choosing a slightly looser install for workout days also reduces the sweat-and-tension combination that can irritate the scalp.

Whatever the occasion, the core technique stays the same. What changes is the finishing touch, whether that’s a shinier edge control for a special event or a simple, functional wrap for the gym.
9. Tools and products that make braiding easier
Having the right tools on hand before you start saves time and reduces tension on your scalp.
A pintail comb is essential for creating clean, precise parts, especially for styles like cornrows-to-pony or a zig-zag part. A wide-tooth comb or detangling brush should come before any sectioning, working out knots gently so you’re not fighting tangles mid-braid. For securing the base, soft, snag-free elastics protect strands far better than standard rubber bands, which can snap hair at the root.
On the product side, a lightweight leave-in conditioner keeps the hair moisturized without weighing it down before braiding. A water-based edge control smooths the hairline without the flaking that heavier gels cause over multiple days of wear. An anti-frizz serum or spray helps maintain a sleek finish between touch-ups, and a satin scarf or bonnet protects the whole style overnight.
If you’re adding length or fullness with extensions, look for lightweight, soft-textured hair designed for natural styles rather than stiff synthetic options, since rigid extensions add unnecessary pulling at the anchor points. For guidance on keeping added hair in good condition throughout the style’s wear, a dedicated hair extension care guide can help you choose the right aftercare routine.
10. A stylist-minded note on choosing style over strain
I’ve watched too many beautiful braided ponytails turn into regret a few months later, not because the style was wrong, but because the tension was. My go-to shortcut is knotless feed-in at the perimeter paired with a properly stretched, banded base. It takes a little longer, but it spares your edges.
For more protective inspiration, our guides on knotless braids and natural updos are worth a look. Chase the trend, but protect the hairline underneath it.
— Christelle
See your braided ponytail before you commit
We built a way to skip the guessing. Upload a photo and preview over 528 curated styles, including braided ponytails in different lengths, thicknesses, and positions, so you know how a look sits on you before you book a stylist or buy extensions.
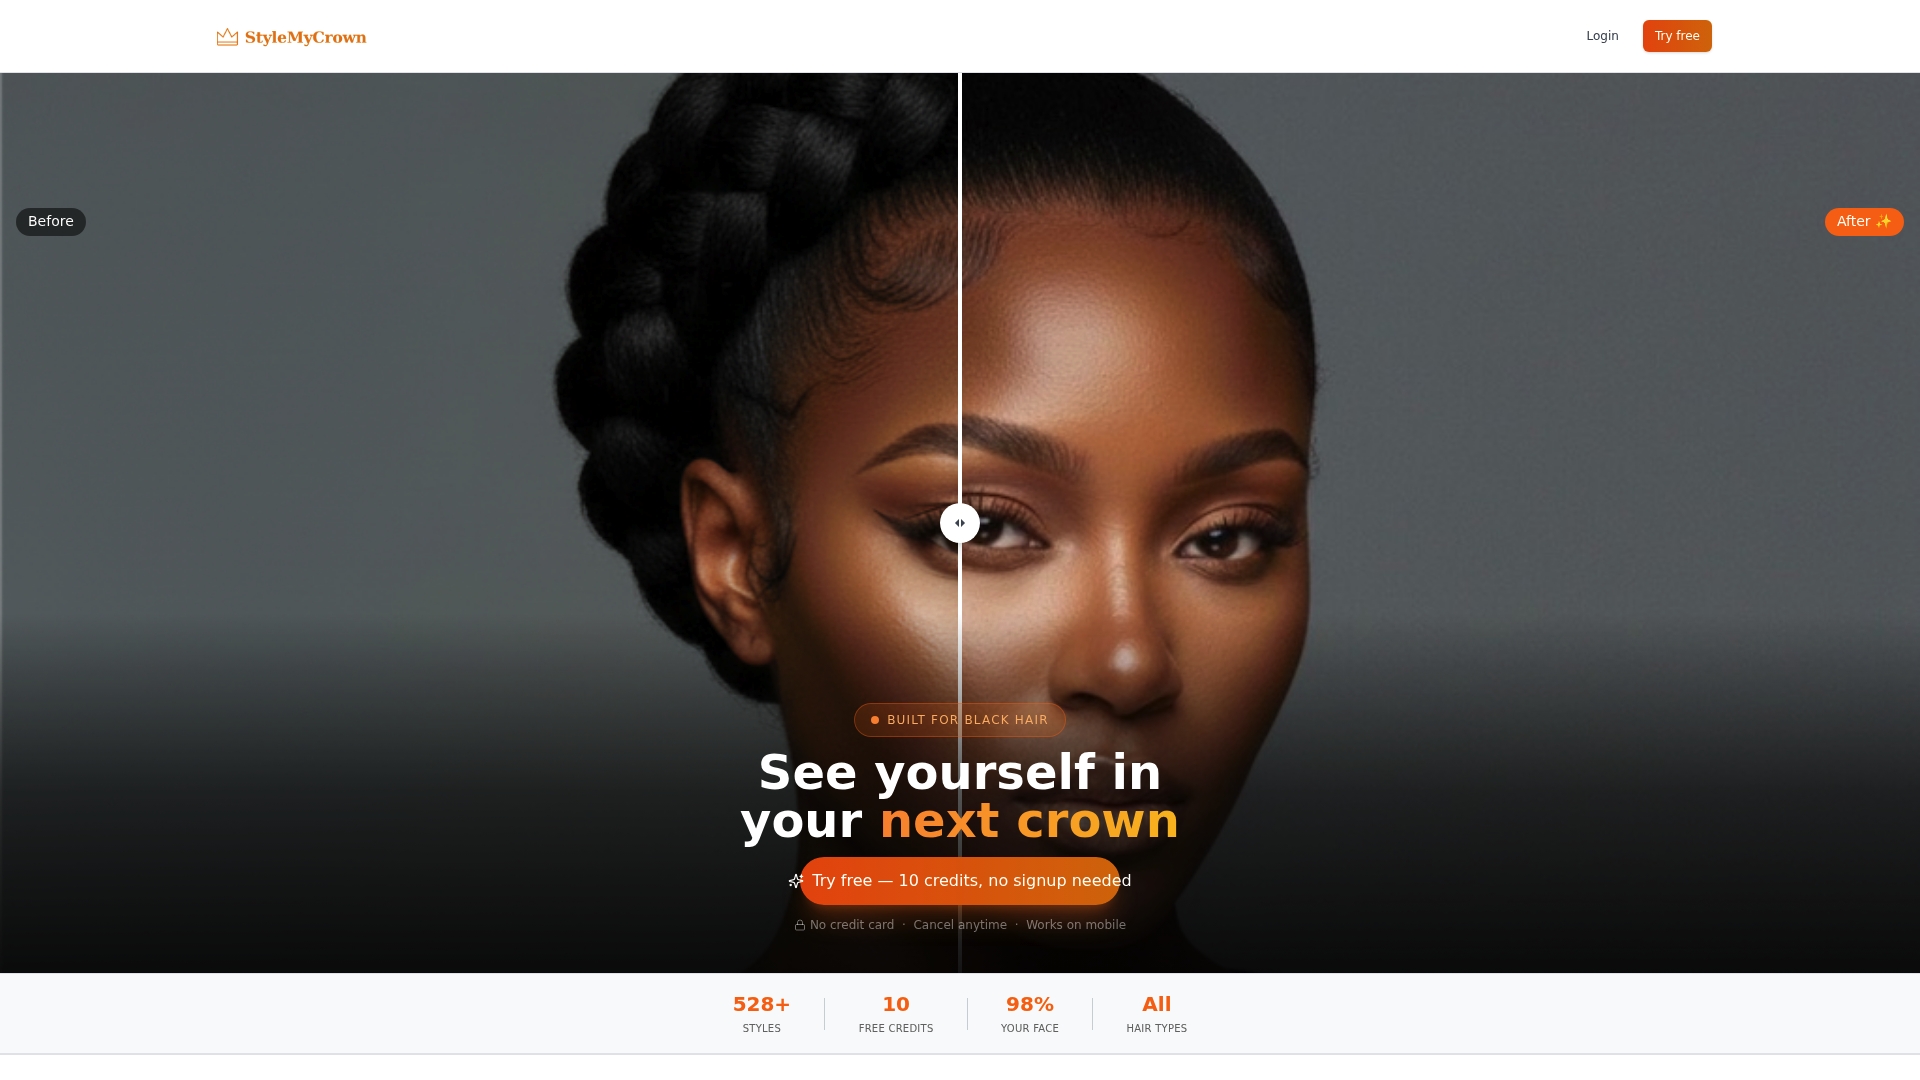
- Try it with 2 complimentary credits, no commitment required.
- Compare a high braided pony against a low wrapped-base version side by side on your own photo.
- Browse the full style catalog for more inspiration before your next appointment.
Ready to see your options? Check out our pricing plans to find the fit that works for you.
FAQ
What is the most flattering ponytail?
The most flattering ponytail depends on your face shape and hair texture, but a wrapped-base ponytail or a sleek single braid tends to suit a wide range of faces because the clean line elongates the neck. Height also matters: a slightly higher pony can lift and open up the face.
Can a 50 year old woman wear a ponytail?
Yes, a braided ponytail works at any age, and a lower, looser style with softer face-framing pieces often feels especially elegant. The key at any age is avoiding excess tension, since scalp sensitivity and hair density can change over time.
What is the prettiest type of braid?
Beauty here is subjective, but a fishtail braid is frequently singled out for its delicate, woven texture that looks intricate without being hard to maintain. A heart-parted braid is another favorite for its romantic, detailed finish.
What are some popular ponytail styles for 2026?
Bubble ponytails, knotless feed-in braids into a pony, and wrapped-base ponytails remain popular largely because they balance low tension with a polished look. Styles that mix textures, like a braided base with curly ends, are also gaining traction for their natural-looking versatility.
How can I preview a braided ponytail before committing?
Our virtual try-on lets you upload a photo and preview braided ponytail styles from a catalog of over 528 looks using 2 complimentary credits. It’s a simple way to see length, thickness, and placement on your own features before scheduling a stylist appointment.
Sources
- American Academy of Dermatology — Hairstyles and hair loss
- Traction alopecia review — PMC
- Traction alopecia - StatPearls


