Save Edges: Sew In vs Quick Weave for Black Hair (Tension vs Glue)

Save Edges: Sew In vs Quick Weave for Black Hair (Tension vs Glue)
Sew-ins win when you want longevity and protection for your natural hair underneath. Quick weaves win when you need a fast, budget-friendly style. The real trade-off isn’t cost versus quality, it’s tension versus glue: sew-ins risk traction damage from tight braiding, quick weaves risk buildup and breakage from bonding glue. Either one can cause traction alopecia if it’s installed too tight or worn too long.
TL;DR:
- Sew-ins last longer, typically 6 to 12 weeks, but require tight braiding that can cause tension and scalp damage if not applied carefully.
- Quick weaves are faster to install, usually 1 to 2 hours, and cost less upfront, but only last 2 to 6 weeks and pose risks of glue buildup and difficult removal.
- Both styles can cause traction alopecia if installed too tightly or worn excessively, especially in cases of scalp sensitivity or existing hair damage.
- Proper tension, timely removal, and scalp maintenance are critical to prevent long-term damage regardless of the method used.
- Visual planning tools are recommended to preview how each style will look on individual face shapes, helping to match the method with personal needs and lifestyle.
Table of Contents
- Sew In vs Quick Weave: What Is a Sew-In Hair Extension?
- Sew In vs Quick Weave: What Is a Quick Weave and How Do You Install One?
- Sew-In vs Quick Weave: Side-by-Side Comparison
- Does Sew-In or Quick Weave Cause More Hair Damage?
- How Do You Choose Between a Sew-In and a Quick Weave?
- Care and Maintenance: Washing, Moisturizing, and Removal
- What to Do If You Notice Damage During Wear
- Why I Think the Sew-In vs Quick Weave Debate Misses the Point
- See Your Next Style Before You Commit to It
- Sources
- FAQ
Sew In vs Quick Weave: What Is a Sew-In Hair Extension?
A sew-in starts with cornrows. Your stylist braids your natural hair flat against your scalp, then uses a needle and thread to sew wefts of hair directly onto those braids. Some people opt for a full sew-in with all natural hair braided under; others leave out a section around the hairline for a more natural blend.
This is the slower of the two methods. Expect to sit in the chair for two to four hours depending on how much hair you’re getting installed and how intricate the braid pattern is. Salon pricing varies widely by region and stylist experience, often running from $80 on the low end to $300 or more for full sew-ins with premium hair.
Sew-ins get called “protective styles” for good reason. Your natural hair is tucked away from daily manipulation, heat, and friction. But that protection only holds up if the braids underneath aren’t pulled too tight. Heavy wefts add pull on top of the braid tension, and that combination is exactly what dermatologists point to when discussing traction alopecia in Black hair, since tight styling patterns are a known trigger.
Watch for these signs that your sew-in is too tight:
- A headache that starts during or right after installation
- Visible bumps or raised skin along the braid part
- Tenderness when you touch your scalp
- Small red bumps at the hairline days later
If any of these show up, tell your stylist before you leave the chair. A sew-in that hurts is a sew-in that’s already working against you.
Sew In vs Quick Weave: What Is a Quick Weave and How Do You Install One?
A quick weave skips braiding altogether. Your stylist places a protective wig cap over your natural hair, then uses bonding glue to attach wefts directly to the cap. No needle, no thread, no cornrows underneath.
That’s why it’s called “quick.” Installation typically takes one to two hours, roughly a third of the time a sew-in takes. Cost tends to land lower too, typically between $60 and $160 whether you go to a salon or do it yourself.
Here’s what makes quick weaves feel different on your head: there’s no braid tension pulling at your roots, so many people describe them as lighter. The real risk shows up on the back end. If glue seeps past the cap and bonds directly to your natural hair or scalp, removal gets messy fast, and pulling it off wrong can rip out strands along with it.
A quick weave makes sense when:
- You need a style for a specific event with a short turnaround
- You’re working with a tighter budget
- You want to skip tight braiding for a few weeks
- You’re testing a length or color before committing longer term
The catch is that limited scalp access during wear can lead to dryness if you don’t stay on top of your moisturizing routine underneath.
Sew-In vs Quick Weave: Side-by-Side Comparison
| Factor | Sew-In | Quick Weave |
|---|---|---|
| Typical longevity | 6 to 12 weeks | 2 to 6 weeks |
| Installation time | 2 to 4 hours | 1 to 2 hours |
| Typical cost range | $80 to $300+ | $60 to $160 |
| Damage risk | Traction from braids and weft weight | Glue buildup and difficult removal |
| Maintenance frequency | Every 2 to 3 weeks for edge and scalp checks | Weekly cap and edge checks |
| Styling versatility | High, supports parting and leave-out styling | Moderate, limited by cap placement |
Pick a sew-in when you want a style that holds up for a couple of months and you have access to a stylist who won’t overtighten your braids. Pick a quick weave when speed and cost matter more than long-term wear.
Both carry the same underlying risk. Dermatologists note that traction alopecia is especially prevalent in Black hair because of frequent high-tension styling, whether that’s tight cornrows for sew-ins or improper glue removal in quick weaves. The method matters less than how it’s installed and how long you leave it in.
Does Sew-In or Quick Weave Cause More Hair Damage?
Traction alopecia happens when repeated pulling on the hair follicle damages it over time. It starts as gradual thinning, usually along the hairline or wherever tension concentrates, and it can become permanent if the follicle scars.
The two methods get you there differently. Sew-ins create damage through tight braiding combined with the weight of sewn-in wefts pulling on those braids for weeks. Quick weaves create damage through a different pathway: glue that bonds to natural hair, plus limited scalp access that lets dryness and buildup go unnoticed until removal day.
Dermatology guidance is consistent on precautions: limit how long you wear high-tension styles, never leave in a style that’s actively painful, and choose sewn wefts over glue-based application when your scalp is sensitive. Keep your scalp moisturized throughout the wear period regardless of which method you choose, and don’t skip washing just because your hair is styled.
A few non-negotiables for either method:
- If it hurts, it’s too tight. Say something immediately, not next week.
- Glue removal should happen with proper remover, never by pulling or picking.
- Scalp hygiene doesn’t pause because your hair is styled.
- Full head thinning, sores, or scabbing means it’s time to see a dermatologist, not wait it out.
Pro Tip: Pain or a headache after installation is your body telling you the braids are too tight right now, not eventually. Practitioners recommend loosening braids immediately rather than waiting to see if it settles, because it usually doesn’t.
The condition to watch for long term is central centrifugal cicatricial alopecia, or CCCA, a scarring form of hair loss linked to repeated tension from braids and weaves and more common in people of African descent. If you notice a widening bald patch at the crown that doesn’t grow back between styles, that’s a signal to see a dermatologist, not just switch stylists.
How Do You Choose Between a Sew-In and a Quick Weave?
Match the method to your actual life, not the style you saw online. Run through this before you book:
- How long do you need the style to last? Two months or more, lean sew-in. Under six weeks, quick weave holds up fine.
- What’s your budget? Quick weaves typically cost less upfront and take less chair time.
- How fragile is your natural hair right now? If you’re dealing with thinning or recent breakage, a sew-in with a skilled stylist who braids loosely is usually gentler than glue against a stressed scalp.
- How active are you? Heavy sweating can loosen glue bonds faster than expected, which favors sew-ins for workouts and humid climates.
- Do you have a stylist you trust for tight work? If not, a quick weave has a smaller margin for error since there’s no braid tension to manage.
For fragile or recovering hair, a loosely braided sew-in tends to outperform glue. For frequent style changes, quick weaves fit better. For a big event or months of protective styling, a well-installed sew-in is the sturdier bet.
One red flag disqualifies either option immediately: active scalp irritation, sores, or recent traction damage. Give your scalp time to recover before adding any tension-based style back on.
Care and Maintenance: Washing, Moisturizing, and Removal
Wash frequency depends on your scalp, not the calendar. Most people with sew-ins do well washing every one to two weeks with a diluted shampoo applied directly to the scalp between tracks. Quick weave wearers need to be more careful, since water near the glue line can loosen the bond early, so a scalp refresher spray between full washes often works better.
Moisturize your scalp daily with a lightweight, water-based leave-in or oil, focused at the roots where you can reach. At night, wrap your hair in a satin or silk scarf or bonnet to cut down on friction.
To reduce tension while wearing either style:
- Ask your stylist to braid medium tension, not the tightest possible pattern
- Request lighter wefts if your sew-in feels heavy after a day or two
- Skip high heat near the tracks or cap edges
- Give your edges a break from constant pulling styles like high ponytails
Pro Tip: Industry guidance recommends capping weave wear at two to three months before taking a recovery break, even if the style still looks good. Cumulative tension adds up even when you can’t see it yet.
For removal, sew-ins need careful cutting of the thread, not tugging on wefts. Quick weaves need actual glue remover applied and given time to work, never picked or pulled dry. If you’re unsure, a professional removal costs far less than the regrowth time you’ll lose from doing it wrong.

What to Do If You Notice Damage During Wear
Some signs mean stop immediately, not wait until your next appointment:
- Sharp or persistent pain anywhere under the style
- Sores, scabbing, or oozing at the scalp
- Sudden clumps of shedding when you touch your hair
- A bald patch that wasn’t there before installation
Get the style removed as soon as you notice any of these. For glue, use a proper adhesive remover and take your time. A stylist who specializes in removal will protect your natural hair far better than a rushed at-home attempt.
Once it’s out, the recovery plan is straightforward: moisturize daily, detangle gently starting from the ends, and stick to low-manipulation styles for a few months. If shedding continues past that window, see a dermatologist rather than waiting it out.
Why I Think the Sew-In vs Quick Weave Debate Misses the Point
The sew-in versus quick weave argument usually gets framed as a durability contest, and that framing misses what actually causes damage. It’s not the method, it’s the execution. A sloppy sew-in with overtight braids does more harm than a well-applied quick weave, and a rushed quick weave with glue smeared onto the scalp does more harm than a properly loosened sew-in.
What I find most people skip is the planning stage. They pick a style off social media without knowing if the leave-out will suit their face shape or if the volume will sit right with their density. That’s where regret starts, and regret is what leads people to leave in styles too long or yank out extensions in frustration.
Previewing a look before you sit in the chair, whether that’s leave-out placement, length, or fullness, through a tool like Stylemycrown’s virtual try-on removes a lot of that guesswork before it costs you time or hair health. Pair that with sound braid tension and honest conversations with your stylist about protective styling, and the method you choose matters far less than how carefully it’s done.
— Christelle
See Your Next Style Before You Commit to It
There are tools available that let you preview how a sew-in or quick weave will actually sit on your face and hair density before paying for installation. You can preview leave-out placement, length, and volume from your own photo instead of guessing off someone else’s Pinterest board.
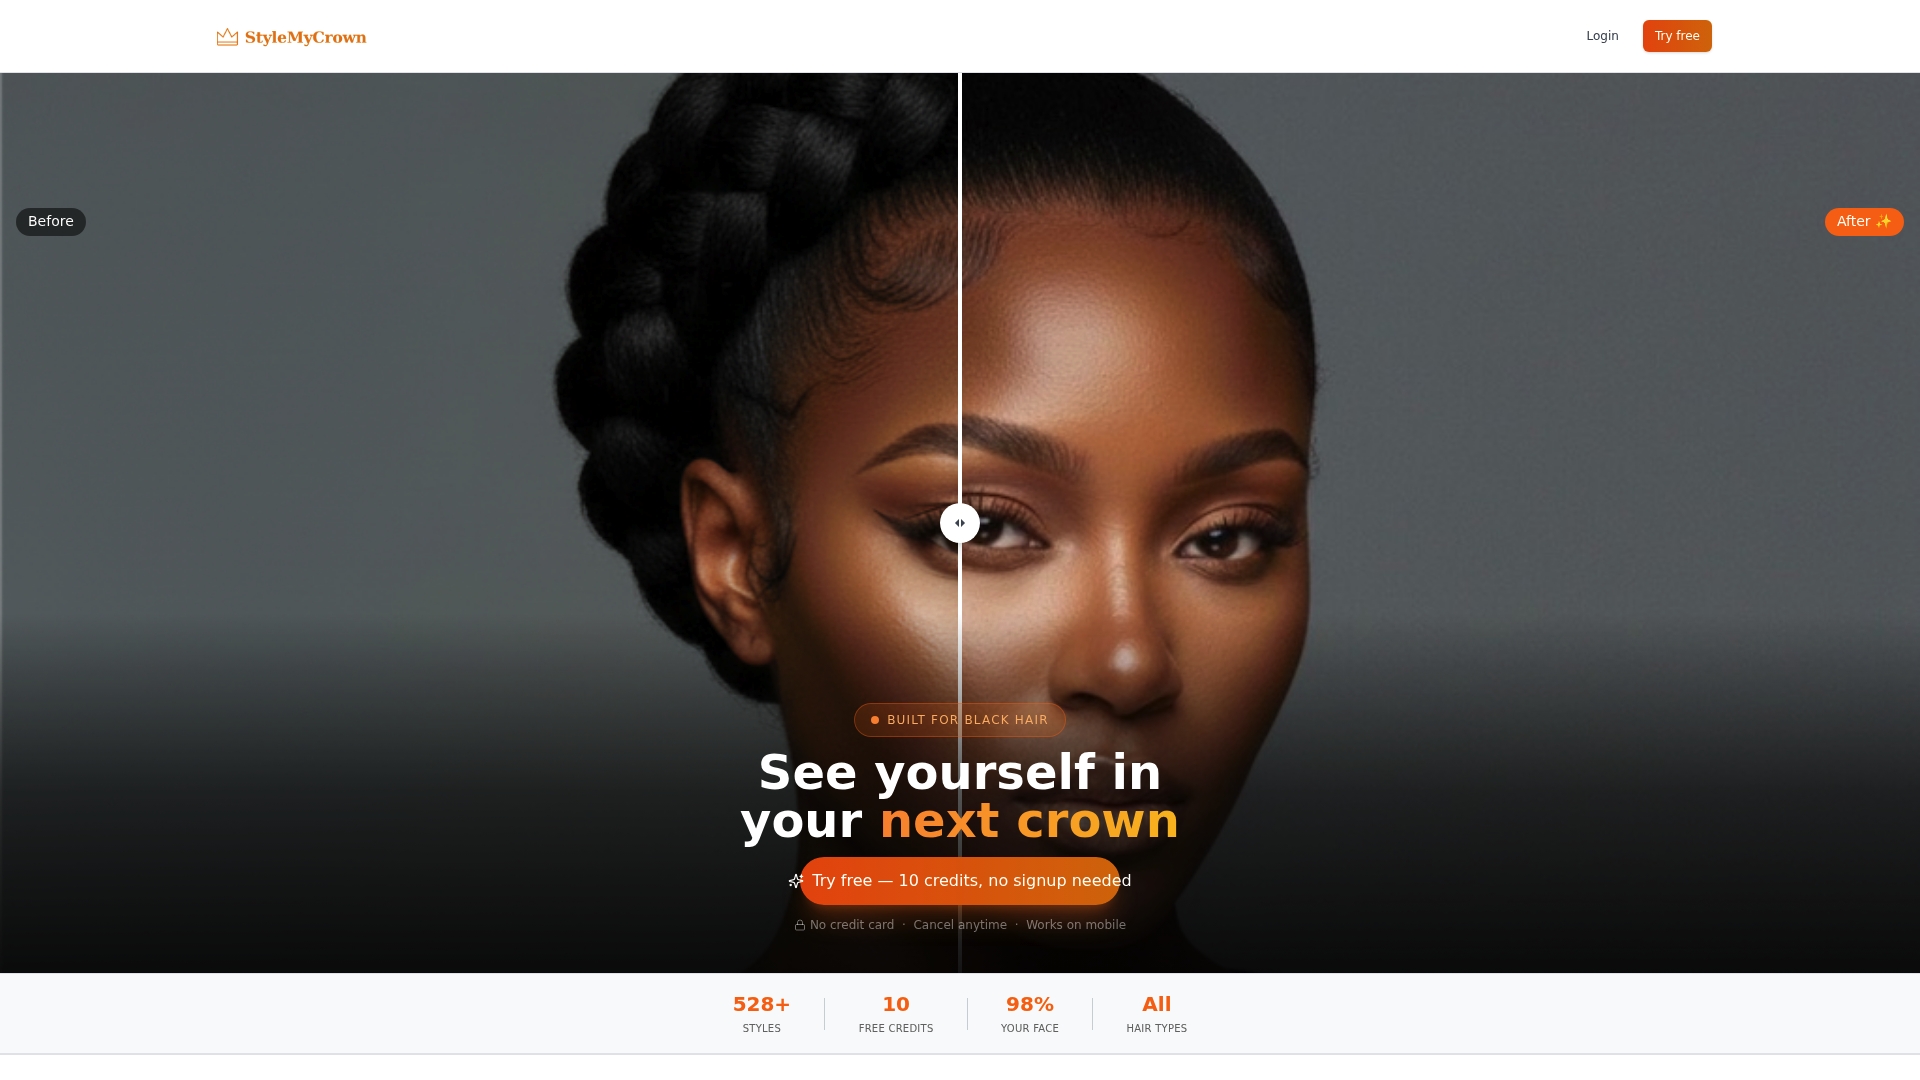
This matters most in the decision window, right before you book. If you’re torn between a longer protective sew-in and a quick, budget-friendly weave, seeing both on your actual face changes the conversation with your stylist from “I think I want this” to “here’s exactly what I want.” New users start with two complimentary credits, no commitment required. When you’re ready to go further, the 1 Week Trial runs $17.48 per week and the 4 Week Plan runs $38.73 per 4 weeks. Try your next look on before you sit in the chair.
Sources
- Understanding traction alopecia
- American Academy of Dermatology — Hairstyles and hair loss
- Cleveland Clinic — Scarring alopecia (overview)
FAQ
How Long Do Quick Weaves Last Compared to Sew-Ins?
Quick weaves typically last 2 to 6 weeks, while sew-ins commonly last 6 to 12 weeks with proper care. The gap comes down to installation method: glue bonds loosen faster than sewn wefts on braided tracks.
Are Sew-Ins Damaging to Your Hair?
Sew-ins aren’t inherently damaging, but tight braiding combined with heavy wefts can cause traction alopecia over time. Dermatologists recommend medium tension braiding and removing any style that causes pain.
What Are the Downsides of Using a Quick Weave?
The main downsides are glue exposure to natural hair, difficult removal if bonding reaches the scalp, and limited access for moisturizing while the style is in. Quick weaves also need touch-ups sooner than sew-ins since they last only 2 to 6 weeks.
Can You Use Quick Weave Hair for a Sew-In?
Yes, the same wefts used in a quick weave can be sewn onto cornrows instead of glued to a cap. The hair itself doesn’t determine the method, the attachment technique does, so quality wefts work for either install.
Which Is Better, Sew-In or Quick Weave?
Neither wins outright since it depends on your priorities. Sew-ins are usually better for longevity and protective styling, while quick weaves are better for speed and lower upfront cost, and previewing both with a tool like Stylemycrown can help you decide before booking.


